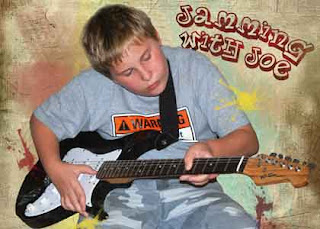
This isn't part of the class I'm taking. It's just me playing around. First I'll tell you the steps I took to get this image and then explain how to do painted text on your own.
Just a note, I use Photoshop, but if you don't have it, many of the photo editing programs support layers and can do these things.
Here are the layers that created this image:
Layer 1 - Fill layer, tan
Layer 2 - Watercolor brushes, various colors, opacity 50%
Layer 3 - Text, Planet Benson 2 Font, Arced, tilted
Layer 4 - Two colors painted over the text in mottled pattern,
then clipped to text layer*
Layer 5 - Mesh texture layer
Layer 6 - Joey, cut away from the background, splatters
painted with layer 2 colors
Layer 7 - Mesh texture layer (copy), opacity 55%
*Clipping layers together applies the shape of the bottom layer to the pattern or color of the top layer.

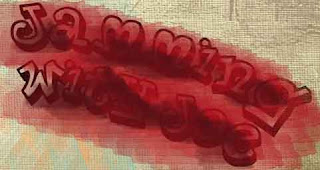
In this image, I've added a new layer on top of the text and painted over the lettering. I like to use multiple colors to get more depth. Leave some areas open and the original color of the text will show through there.

Here, the painted layer was clipped to the text. Doesn't it look awesome?.
It's easy to do. In CS4 you select either layer, hold the alt key and hover your mouse between the two layers. The icon will change to a double circle. Click there and it's done. In Photoshop 7, you select the top layer and press CTRL+G to group or clip the selected layer with the one below it. If you don't have either of these, google how to do it in your software.
You can use this technique to clip photos to a shape, paint or texture to text and a world of other possibilities. Go play!

I really like the photos you are sharing. I have Photoshop Elements 7, but have not done much with it.
ReplyDeleteMaybe you can teach me how to do some of this.
I'm at work but when I get home I'm going to try this painted text!
Thanks for sharing.
Pam